Physical Address
304 North Cardinal St.
Dorchester Center, MA 02124
Physical Address
304 North Cardinal St.
Dorchester Center, MA 02124
Talk is Cheap, Let’s Do the WordPress!
Talk is Cheap, Let’s Do the WordPress!
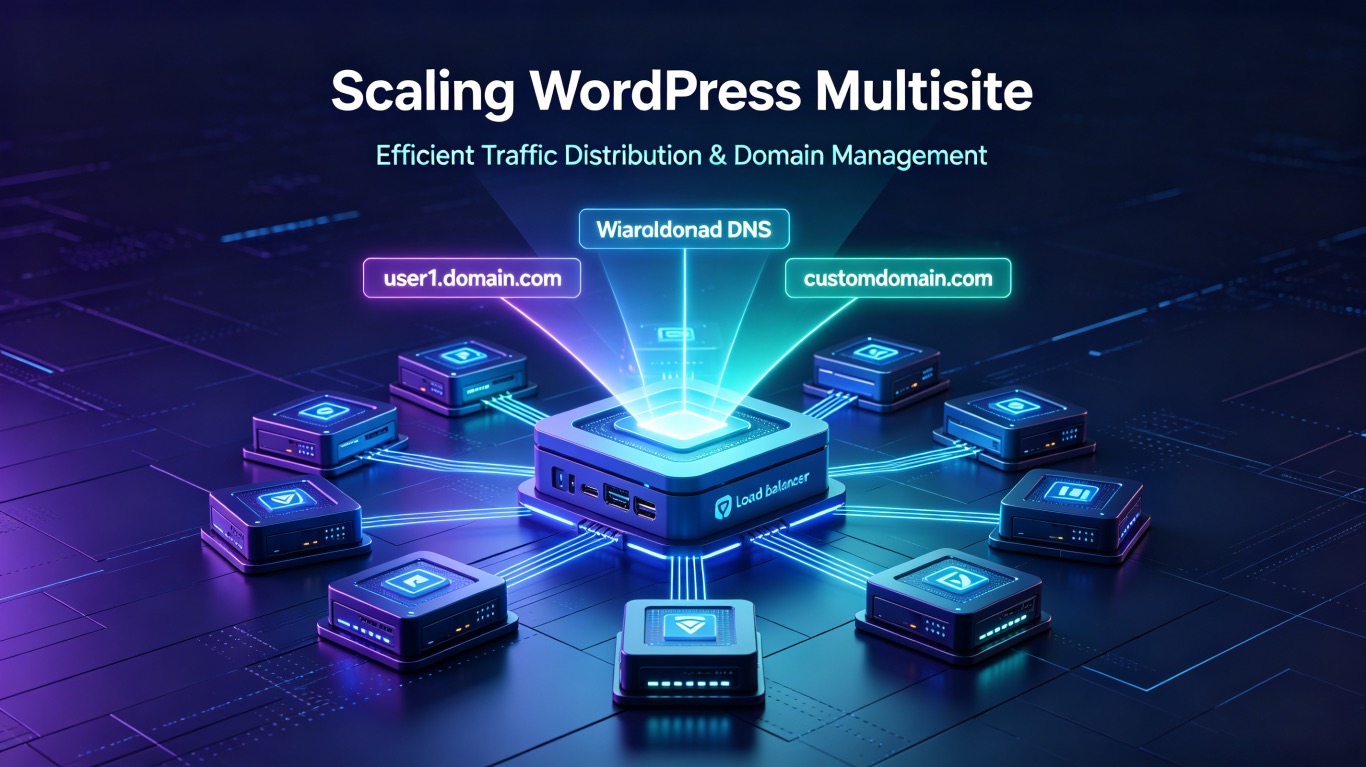
Q: I run a SaaS website building service built on WordPress Multisite. We use *.abcdomain.com as a wildcard subdomain pattern, where each subdomain maps to a corresponding subsite in the network. Our customers can also map their own custom domains to their assigned subdomain and subsite.
Now that our subsite count is growing and we need to scale out with an additional server, I want to keep our existing *.abcdomain.com wildcard DNS setup intact to handle automatic resolution for all customer domains. What is the proper way to implement this architecture?
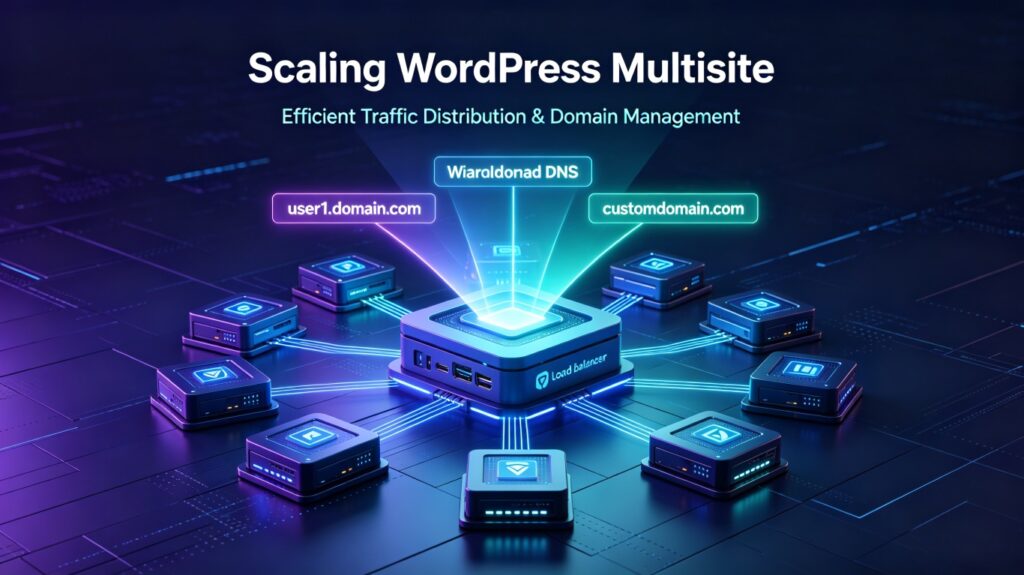
You can fully retain your existing *.abcdomain.com wildcard DNS logic and your tenants’ custom domain CNAME setup — no changes are required for end users. The core of scaling your infrastructure is to evolve from a single-server setup to a layered cluster architecture: unified load balancing entry + multiple stateless application servers + shared database + shared file storage. All domain requests are received by the load balancer and distributed evenly across your backend WordPress servers.
WordPress Multisite identifies sites based solely on the Host header in the HTTP request, which maps to the domain column in the wp_blogs database table. This logic is completely independent of server count or IP addresses. As long as the correct Host header is passed through to backend servers, all nodes will correctly resolve the corresponding subsite.
Custom Tenant Domain (CNAME to xxx.domain.com)
        ↓
*.domain.com Wildcard DNS → Load Balancer (unified entry, SSL termination, traffic distribution)
        ↓
┌─────────────────┬─────────────────┐
│ WP Server 1     │ WP Server 2     │  (infinitely horizontally scalable)
│ Web + PHP       │ Web + PHP       │
└─────────────────┴─────────────────┘
        ↓
Shared Database + Shared File Storage*.domain.com from your original server IP to the load balancer’s public IP. The wildcard resolution logic remains fully intact.xxx.domain.com, they will automatically resolve to the new load balancer endpoint. Zero changes required on the user side, fully transparent to tenants.All subsite settings, content, user data, and domain mapping records for WordPress Multisite are stored in a single database. This shared database is the foundation that allows all application servers to consistently identify sites.
wp-config.php on all WP servers to point DB_HOST to the private endpoint of your shared database. Leave all other Multisite constants unchanged: // Only update this line; all other Multisite configuration stays unchanged
define( 'DB_HOST', '10.0.1.100:3306' );
// Keep all existing Multisite constants as-is
define('MULTISITE', true);
define('SUBDOMAIN_INSTALL', true);
define('DOMAIN_CURRENT_SITE', 'domain.com');
define('PATH_CURRENT_SITE', '/');
define('SITE_ID_CURRENT_SITE', 1);
define('BLOG_ID_CURRENT_SITE', 1);The load balancer acts as the single entry point for all traffic. It receives all domain requests and distributes them evenly across your backend WordPress servers.
| Solution | Advantages | Use Case |
|---|---|---|
| Cloud-managed load balancer (AWS ALB, GCP Load Balancing, Cloudflare Load Balancer) | Built-in health checks, auto-scaling, native SNI support, minimal operational overhead | Recommended for production SaaS deployments |
| Self-hosted reverse proxy (Nginx / Caddy) | Full control, lower infrastructure cost | Teams with DevOps capacity, smaller server clusters |
*.domain.com wildcard A record to the public IP of your load balancer. Tenant custom domains will automatically follow the CNAME chain to the new endpoint with no user action required.proxy_set_header Host $host;proxy_set_header X-Forwarded-For $proxy_add_x_forwarded_for;proxy_set_header X-Forwarded-Proto $scheme;*.domain.com wildcard SSL certificate directly on the load balancer.# Define backend WordPress server pool
upstream wp_saas_cluster {
server 10.0.2.10:80 weight=1 max_fails=2 fail_timeout=30s; # Server 1
server 10.0.2.11:80 weight=1 max_fails=2 fail_timeout=30s; # Server 2
# Add more servers here for future scaling
}
# HTTP to HTTPS redirect
server {
listen 80;
server_name *.domain.com;
return 301 https://$host$request_uri;
}
# HTTPS server block
server {
listen 443 ssl http2;
server_name *.domain.com;
# Wildcard SSL certificate
ssl_certificate /path/to/wildcard_domain_com.pem;
ssl_certificate_key /path/to/wildcard_domain_com.key;
location / {
proxy_pass http://wp_saas_cluster;
# Critical: Preserve Host header for WordPress subsite resolution
proxy_set_header Host $host;
proxy_set_header X-Real-IP $remote_addr;
proxy_set_header X-Forwarded-For $proxy_add_x_forwarded_for;
proxy_set_header X-Forwarded-Proto $scheme;
proxy_connect_timeout 30s;
proxy_send_timeout 60s;
proxy_read_timeout 60s;
}
}When SSL is terminated at the load balancer, backend servers receive requests over HTTP and may incorrectly redirect to HTTPS, causing an infinite loop. Add the following to wp-config.php on all WP servers:
// Detect HTTPS based on the header passed from the load balancer
if ( isset( $_SERVER['HTTP_X_FORWARDED_PROTO'] ) && $_SERVER['HTTP_X_FORWARDED_PROTO'] === 'https' ) {
    $_SERVER['HTTPS'] = 'on';
    $_SERVER['SERVER_PORT'] = '443';
}All new WordPress servers must have an identical environment to your original server to avoid compatibility issues.
php.ini and virtual host configurations exactly across all nodes.wp-config.php, and sunrise.php (if used) from your original server to all new nodes.All servers must have identical media uploads, plugin versions, and theme files. Without this, users will see 404 errors for images or encounter plugin version mismatches depending on which server they hit.
wp-content/uploads directory. All WP servers mount this shared path to their local wp-content/uploads directory.Client mount example:
# Install NFS client
apt install nfs-common  # Ubuntu/Debian
yum install nfs-utils   # RHEL/CentOS

# Temporary mount
mount -t nfs 10.0.3.20:/data/wp_uploads /var/www/html/wp-content/uploads

# Persist mount on boot - add to /etc/fstab
echo "10.0.3.20:/data/wp_uploads /var/www/html/wp-content/uploads nfs defaults,_netdev 0 0" >> /etc/fstabUse tools like rsync + inotify or lsyncd to sync file changes across servers in near-real time. This eliminates single points of failure but introduces sync latency and configuration complexity. Not recommended for large-scale SaaS deployments.
Best practice: Update plugins, themes, and WordPress core from a single deployment server, then sync the full codebase to all application nodes. Avoid running updates via wp-admin on random nodes to prevent version mismatches.
WordPress stores login sessions in local files by default. Random load balancing distribution will cause users to be randomly logged out as they switch between servers.
php.ini on all servers: session.save_handler = redis
session.save_path = "tcp://10.0.4.30:6379?auth=your_redis_password&database=0"wp-config.php: define( 'WP_REDIS_HOST', '10.0.4.30' );
define( 'WP_REDIS_PORT', 6379 );
define( 'WP_REDIS_PASSWORD', 'your_redis_password' );
define( 'WP_CACHE_KEY_SALT', 'wp_saas_' );IP-hash session persistence is not recommended: it causes uneven load distribution, defeats the purpose of horizontal scaling, and is unreliable for SaaS users with dynamic IP addresses.
/wp-includes/images/blank.gif) to automatically remove unhealthy servers from the pool for high availability.COOKIE_DOMAIN and authentication key constants unchanged to preserve cross-subsite login functionality.For More Information, Please read the post: Part 2: Expanded Load Balancing Deployment Guide | WordPress Multisite Subdomain SaaS Scaling